It's the weeeeeekeeeend! Hurrah! Today is wine tasting day and I have some suitably winey nails that I'll show you in my next post...
Today, however, I have something else for you. If you follow me on Facebook (and if you don't, please do!), you'll know that last weekend I was playing with my OPI Sheer Tints. My husband bought me the mini set for Christmas, and I'm ashamed to say this is the first time they've been out of the box. Although I probably also have dozens of other untrieds, but it's not so obvious when they're not all sitting in a nice box together.
Anyway, here's one of the nail art looks I tried. I want to say this is called a pond manicure..? Please correct me if I'm wrong! Inspired by a manicure I saw on Chalkboard Nails ages ago :)
I used Jessica Ruffled Bottoms for my base colour, then used my Barry M Nail Art Pen in White to draw some flowers. I did two layers of flowers, with a coat of OPI Don't Violet Me Down in between, then topped it off with some dots of Barry M Matt White and one last coat of the sheer tint. I think next time I'd use two coats of the sheer tint between even layer to get a bit more of a contrast between the layers?
Do you have any suggestions for other uses of these polishes? I have a lead lighting manicure planned just as soon as I track down a black stamping polish!
I hope you all have a great weekend :)
Saturday 30 May 2015
Thursday 28 May 2015
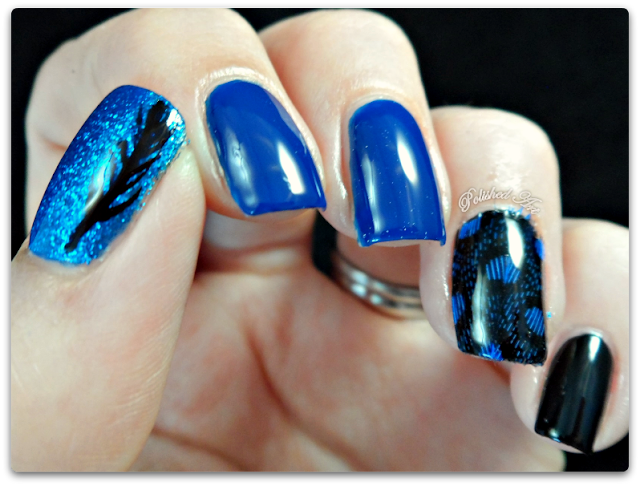
Blue Feather
Hello once again :) It is so nearly Friday and I cannot wait for this week to be over! I STILL have a cold and I'm feeling very fed up, but sadly not ill enough to not go to work :p I'm meeting up with some friends this weekend though, which I'm very excited about. We haven't all gotten together since Christmas :) We're going for a spot of lunch, followed by wine tasting and I imagine it'll all go downhill from there (we once managed to drink a pub dry of prosecco, but I like to think that's because they were poorly stocked...).
Remember that glitter from my last post that I said ended up everywhere? Yep, that's it there on my middle finger. Oops.
The polish that has been unceremoniously dusted with leftover glitter is China Glaze Manhunt - definitely one of my favourite blues. It's just so darn glassy. On my thumb I added a coat of Barry M Blue Glitter over the top, and then added a little freehand feather just to try and tie the look together a bit.
Anyway, nails. I bought some feathers absolutely ages ago after seeing a great feather nail art tutorial on the Nailasaurus (which you can see here), but they've since sat unused and unloved like so many other nail art supplies... So I decided it was finally time to use them!
When I bought these, for some reason they only had brightly coloured feathers in Hobbycraft. Nothing remotely natural looking. So, I present to you my bright blue feather manicure:
Remember that glitter from my last post that I said ended up everywhere? Yep, that's it there on my middle finger. Oops.
The polish that has been unceremoniously dusted with leftover glitter is China Glaze Manhunt - definitely one of my favourite blues. It's just so darn glassy. On my thumb I added a coat of Barry M Blue Glitter over the top, and then added a little freehand feather just to try and tie the look together a bit.
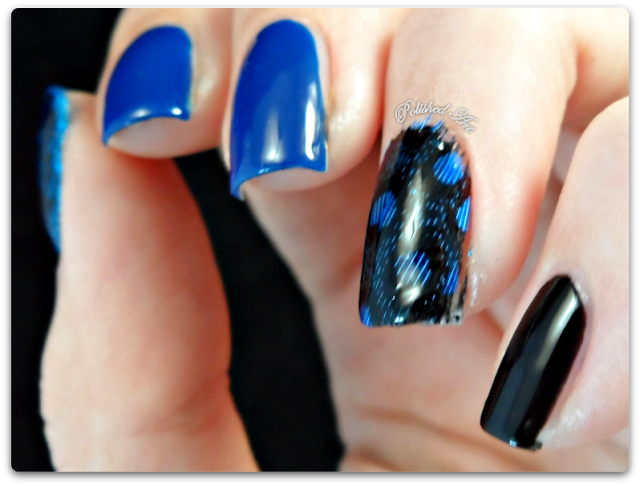
On my little and ring fingers I used Nails Inc New York Noir - I know it's irrelevant because I top coat everything, but this polish is so amazingly glossy. For the feather accent I pretty much did what's in the Nailasaurus' tutorial except not as well. I decided I didn't want all the thin, sparse bit at the end of the feather on my nail so I just stuck like a middlish part of the feather on my nail and for some reason thought I'd be able to trim around my cuticle with scissors afterwards? I blame my cold...it's affecting my brain. Anyway, as you can see, that didn't work,so don't do that. I did manage to trim it down a bit shorter but I stopped before I started shredding my cuticles, so it isn't as clean a line as I'd like. You live and learn... Also, I added another coat of Seche Vite after filing off the excess feather, just to ensure my ends were wrapped and it was all sealed in.
What do you think? Have you tried using feathers in your nail art before? I'd love to see if you have :)
----------
Tuesday 26 May 2015
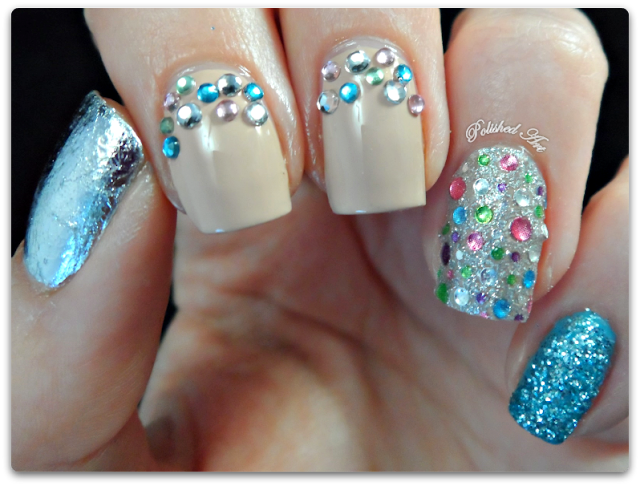
Multiple Blings
Hello! Yes, I'm still alive. I can't believe I haven't posted all year, oops... This year is just flying by though, as if we're in May already. Is this just what happens when you get older? I don't like it at all...
So this bank holiday weekend, my husband was away and I was far too ill to go anywhere further than the sofa, so I cracked out all my nail goodies and did a few manicures :) It's ages since I did anything more than a plain manicure, maybe with a bit of stamping, and my first attempt was...erm...a bit of a disaster. So I thought I wouldn't kick off with that, and instead I'd show you my second (far more successful) attempt.
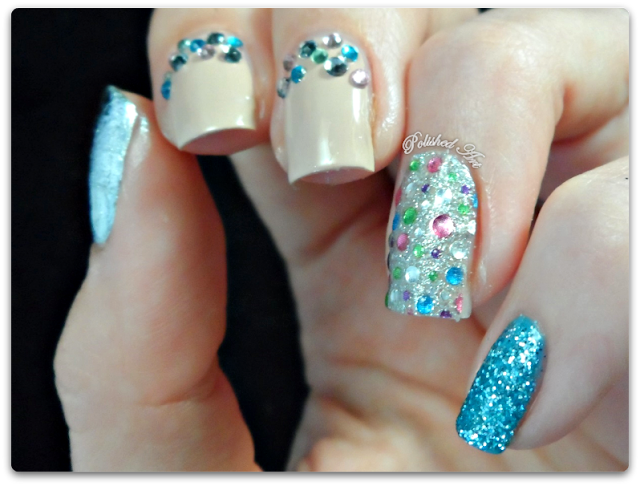
The ring finger is a Kiss Nail Dress that came free with a magazine I bought ages ago. There were 6 designs but only one of each, so totally useless other than for manicures that only survive long enough to be photographed on the blog, but there you go. It applied very easily - it was thick but easily shaped to my nail, and still looked good the next morning, although that probably isn't a very good wear test...
Anyhoo, I then covered my little finger nail with blue glitter from Viva La Nails (you can see my review of this here). It ended up everywhere...I foolishly glittered while all my other nails were still tacky. Rookie mistake.
I used my favourite nude, OPI Don't Pretzel My Buttons, on my index and middle fingers, then added some rhinestones in (slightly) different sizes to match the colours on the Nail Dress. Lastly, on my thumb I used a Ciate nail foil. Despite using Special FX Sealer, it still crinkled. Any tips for a topcoat that works well with foils?
So there it is, my first post of 2015! I hope you like it and I promise to be a better blogger and post more soon :) Let me know what you'd like to see more of: leave me a comment or pop over to my Facebook page. You can also get sneak peaks of upcoming blog posts by following me on Instagram @PolishedArt.
Subscribe to:
Posts (Atom)


